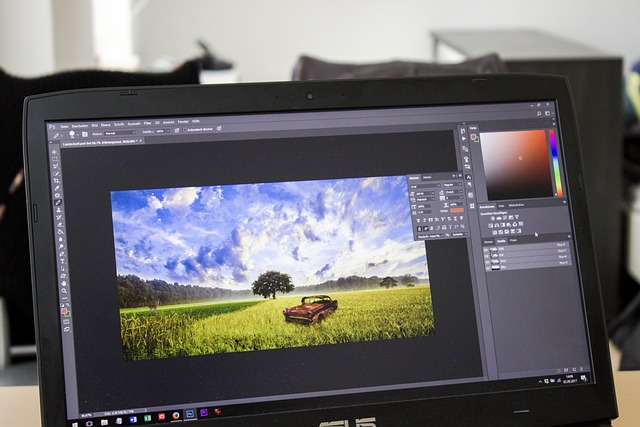
This article provides a six-step guide to creating high-quality GIF files in Photoshop.
It’s no secret that moving images are the most popular on the Internet. That’s why videos and GIF files are so often used by content creators, influencers, and digital marketing departments. So what? The fact is that creating GIF files in Adobe Photoshop is very easy. Below are the steps for creating great GIF animations.
Adobe Photoshop is a multifunctional professional raster graphics editor for working with images, 3D objects, and typography. Its main advantages include an extensive set of tools, support for graphics tablets and plugins, as well as the ability to work offline and cross-platform compatibility. Its disadvantages include the high cost of subscription, complexity for beginners, and high system requirements.
Advantages
- Advanced functionality: The program provides tools for correcting, retouching, creating, and editing images of any type.
- Support: Photoshop supports all major media file formats and graphics tablets and can be expanded with plugins.
- Customization: The interface can be customized to suit your needs, and a large number of training materials help you learn the program.
- Performance: The latest versions show improved performance on modern hardware.
- Offline work: The program does not require a constant internet connection to work, which reduces the risk of data leakage.
Disadvantages
- Cost: The program is distributed on a paid subscription basis, and a “perpetual” purchase is no longer possible.
- Complexity: Photoshop has a high learning curve, and it can take months to master.
- System requirements: A fairly powerful computer and graphics card are required for smooth operation.
- No Linux support: There are no official versions for the Linux operating system.
Creating a GIF file in Photoshop
Note that you can use sketches, images, and even video files to create GIF files. First, you need to load the images into Photoshop.
After loading the images and placing all the files in separate layers, unlock the source layer.
To animate your GIF, open the Timeline Panel (click Window > Timeline) and select Create Frame Animation from the drop-down menu.
- Select Make Frames From Layers from the pop-up menu.
- Make sure all frames are synchronized. To do this, select the first frame, press and hold the Shift key, click the last frame, and then set the interval to 0.1 seconds.
- Select Forever from the drop-down menu on the timeline to enable continuous playback.
- Export the GIF file. Click File > Export Save for Web (Legacy) and set the format to GIF in the export format field and the value to Forever for the Looping parameter.
Now you can share the GIF file with anyone else. Creating GIF files is very easy, fast, and fun.